





Custom Rubber-Coated Belt Manufacturing: Materials, Bonding and Production Process
Custom Rubber-Coated Belt Manufacturing: Materials, Bonding and Production Process
What is inside a coated belt, how the layers are bonded so they stay bonded, and the tolerances that separate a good belt from an early failure
A custom rubber coated belt is two products in one: the timing belt underneath, which carries the load and positions precisely, and the rubber cover on top, which grips, cushions or protects. The cover gets the attention in sales conversations, but in manufacturing it is the interface between the two that decides whether the belt survives. A cover that peels, delaminates or hardens away from the base belt fails regardless of how good the compound is — and that interface is built, not bought. This article walks through the three-layer construction, the cover compounds available and where each belongs, how the bond is made during vulcanising, the production sequence from drawing to inspection, and the tolerances a buyer should check on a custom project.
Rubber Coated Belt Construction: Base Belt, Adhesive Layer and Cover
Every coated belt has the same anatomy, and understanding it explains most of the manufacturing choices:
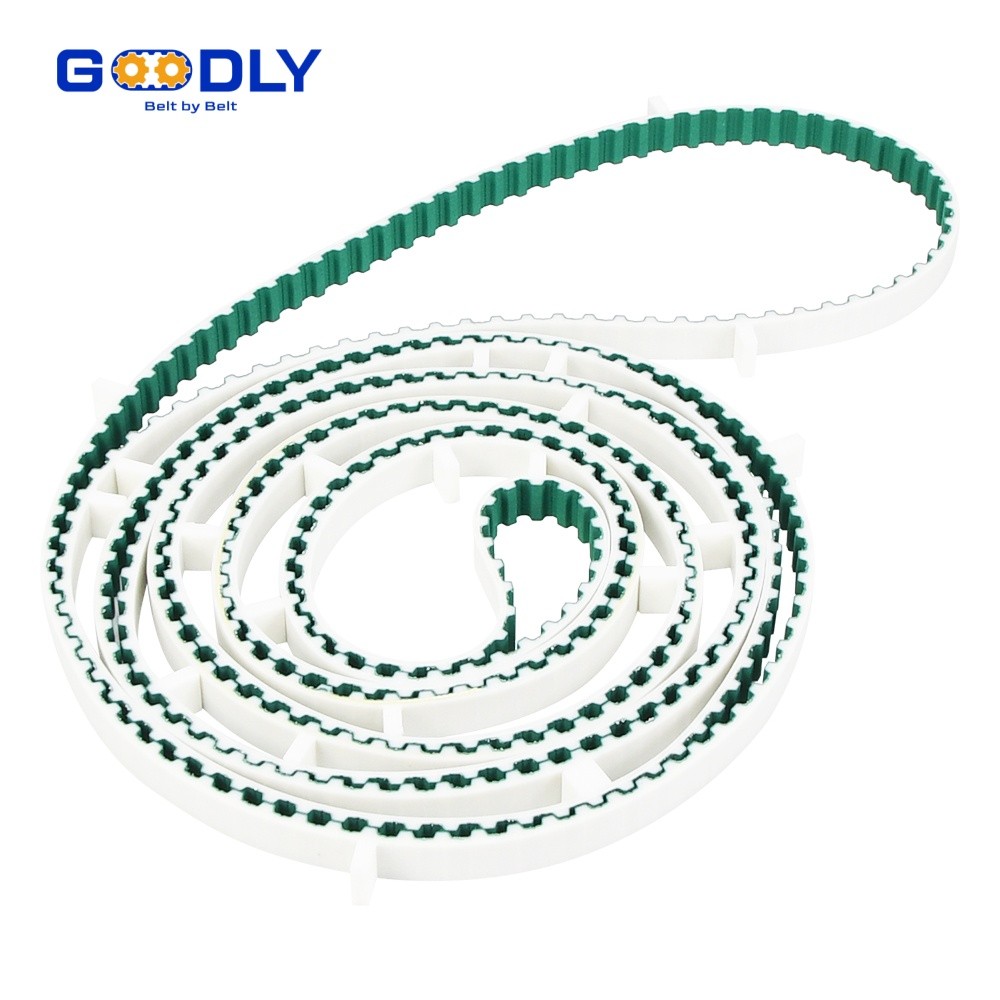
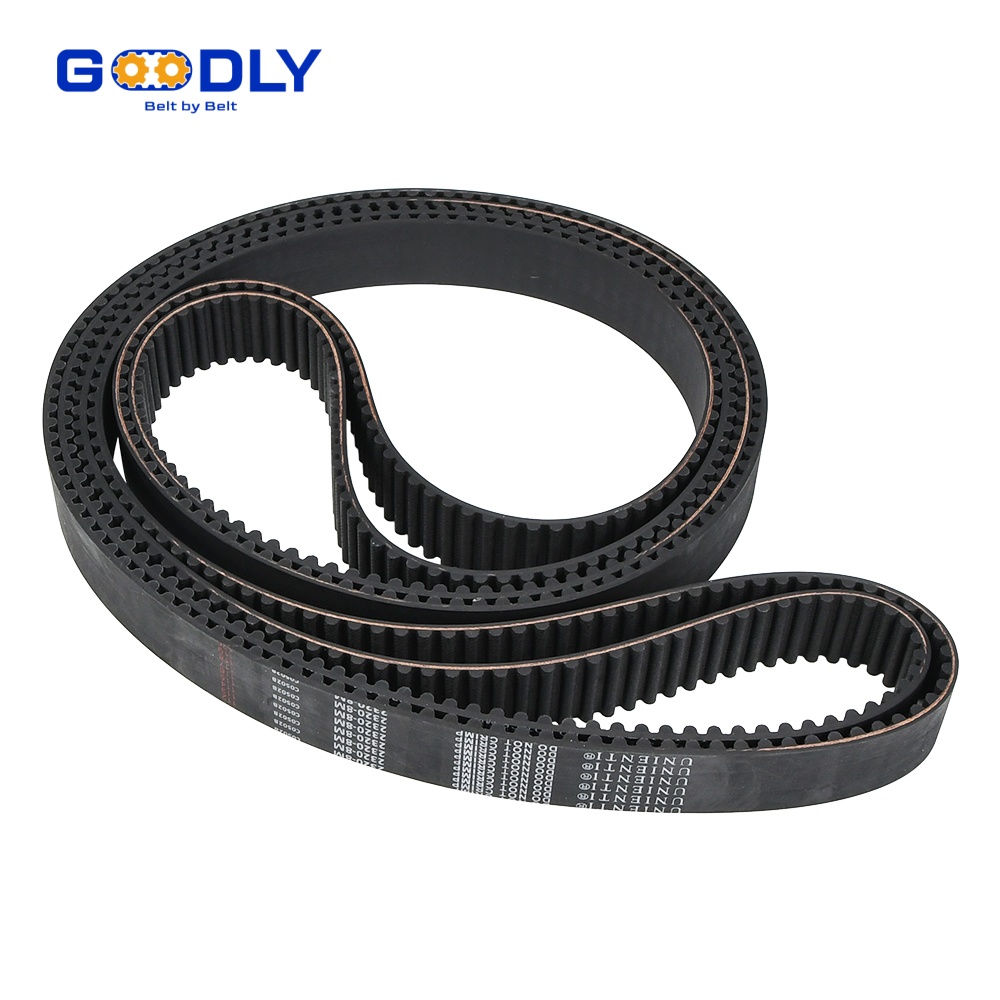
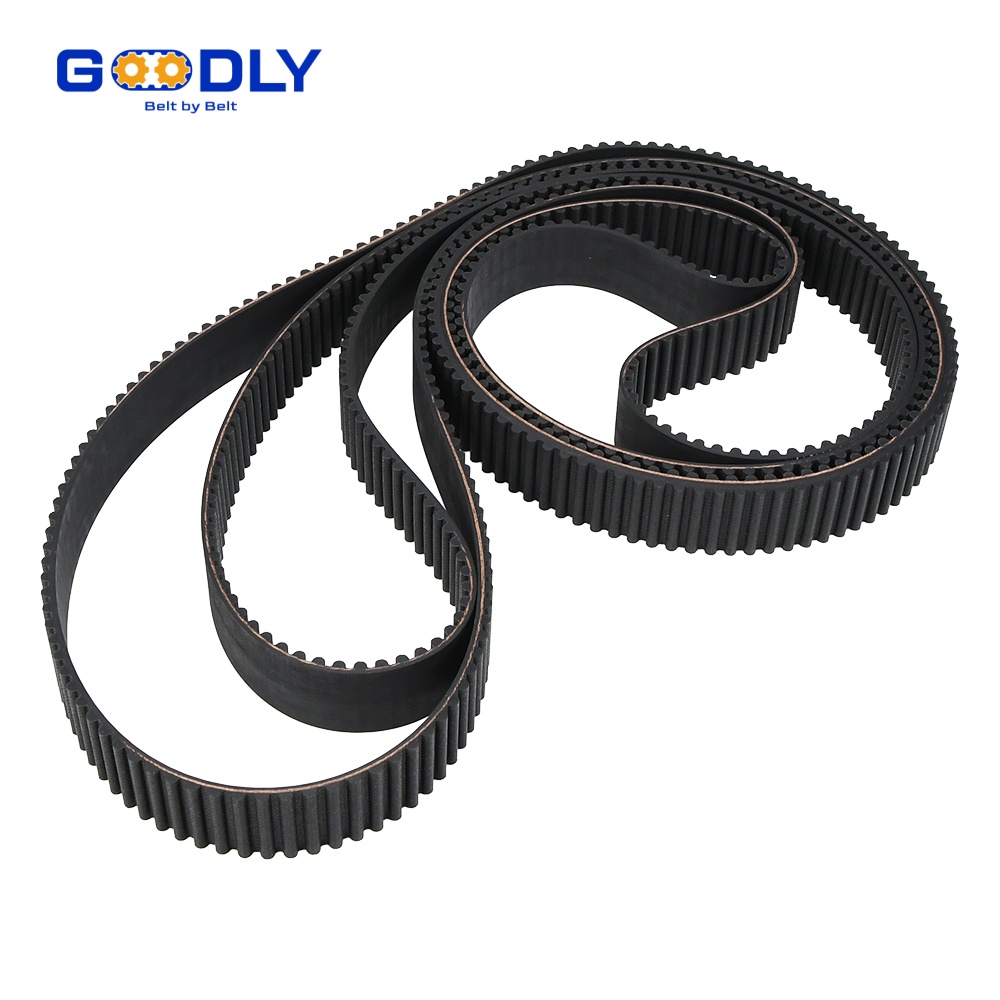
- The base belt. A timing belt — rubber or PU, with the tooth profile your pulleys need — or a flat belt where timing is not required. The base carries all the tensile load in its cord line and is finished, before coating, to a controlled back thickness so the cover lands on a clean, dimensioned surface. Construction choices for the base itself are covered in our rubber coated timing belt guide.
- The adhesive system. Not a glue layer in the household sense but a chemical bonding system — typically a primer plus an adhesive tie-coat, matched to both the base compound and the cover compound. It is applied to the prepared back surface and stays active during the cure.
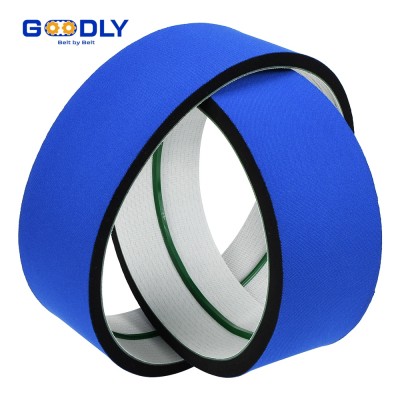
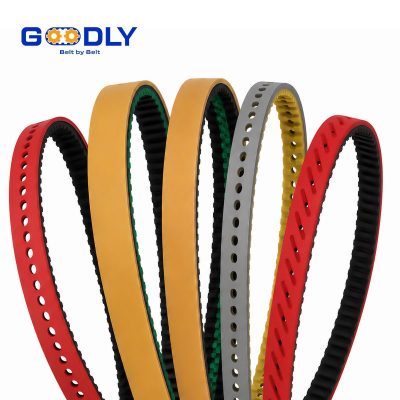
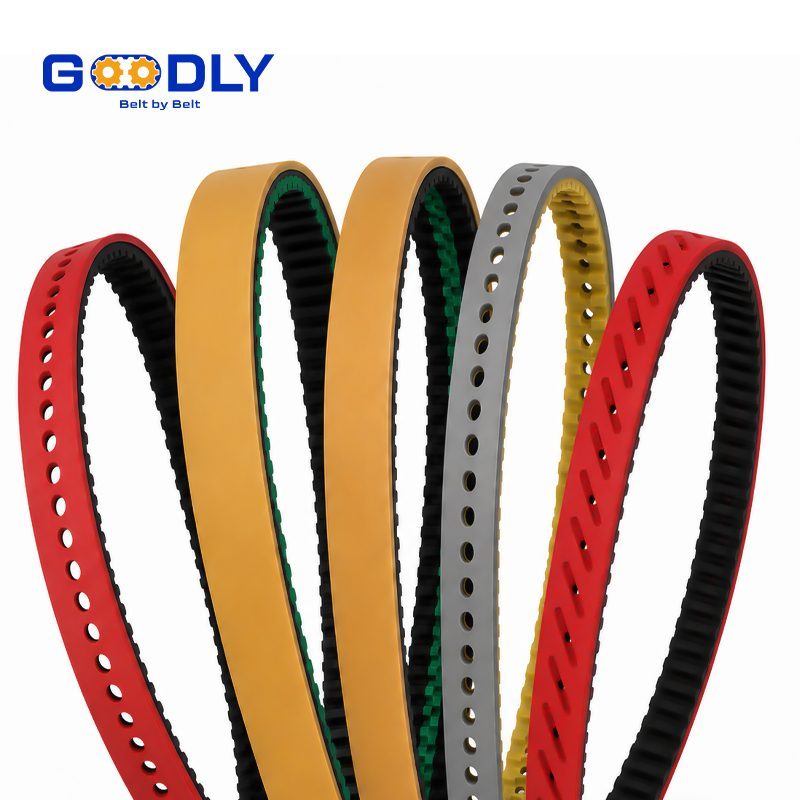
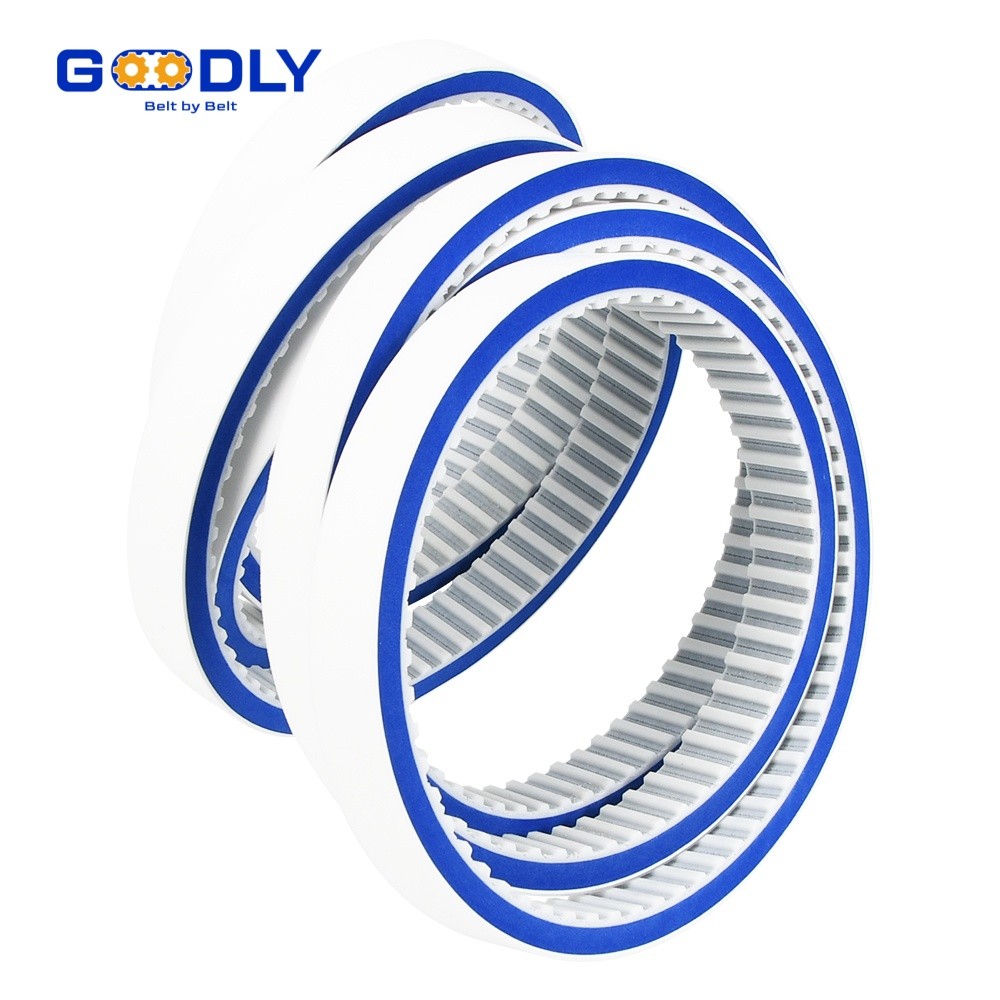
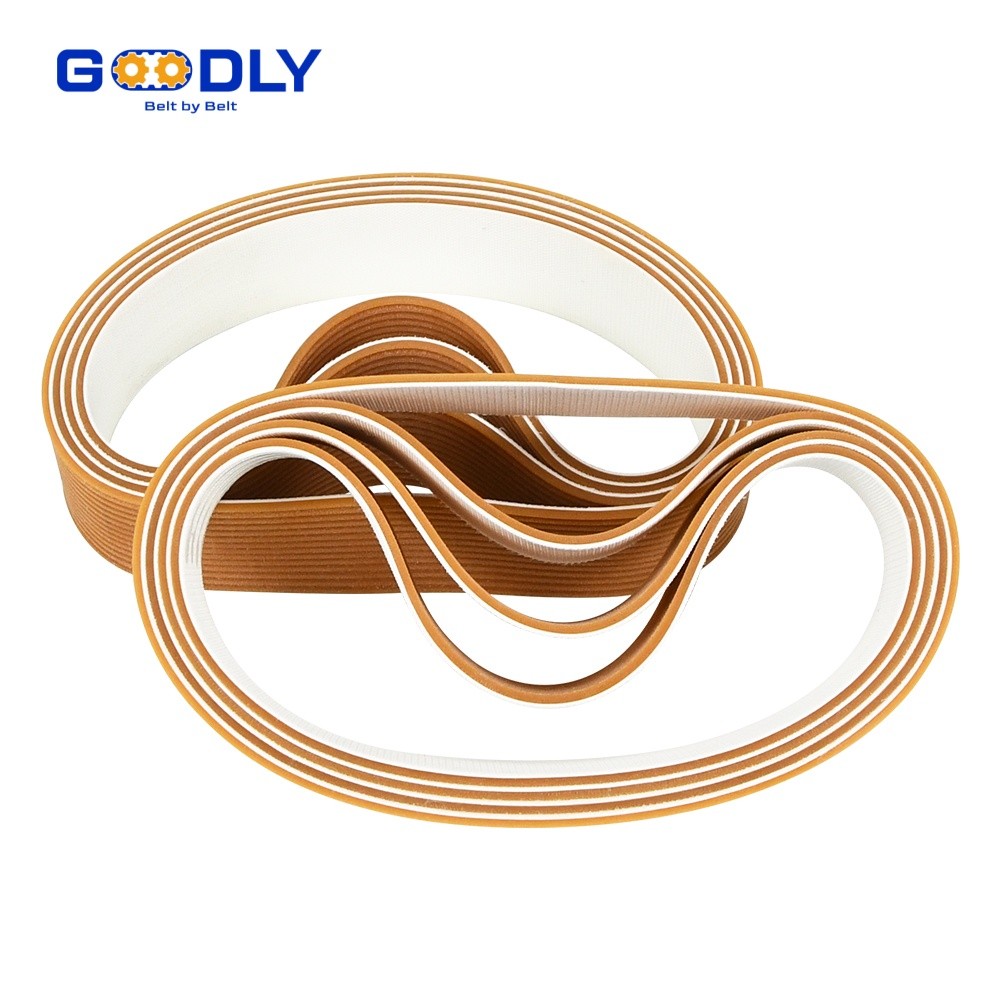
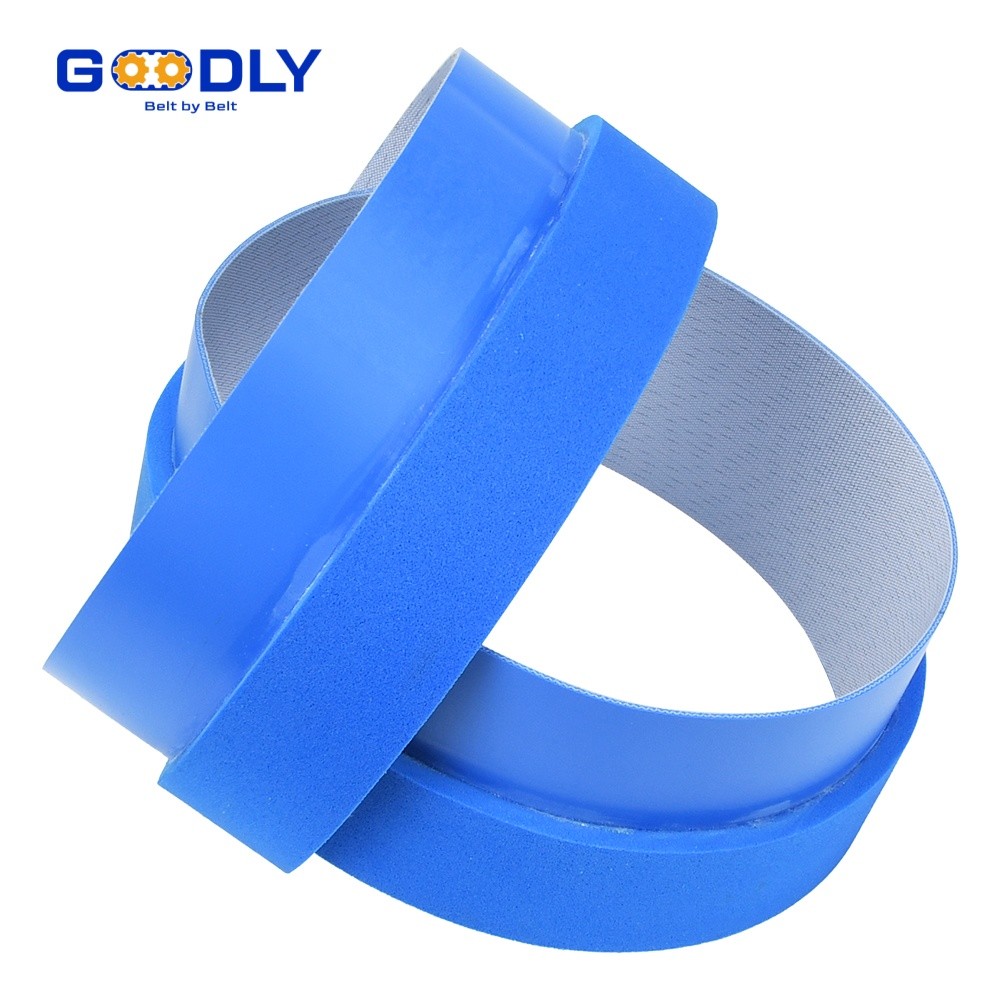
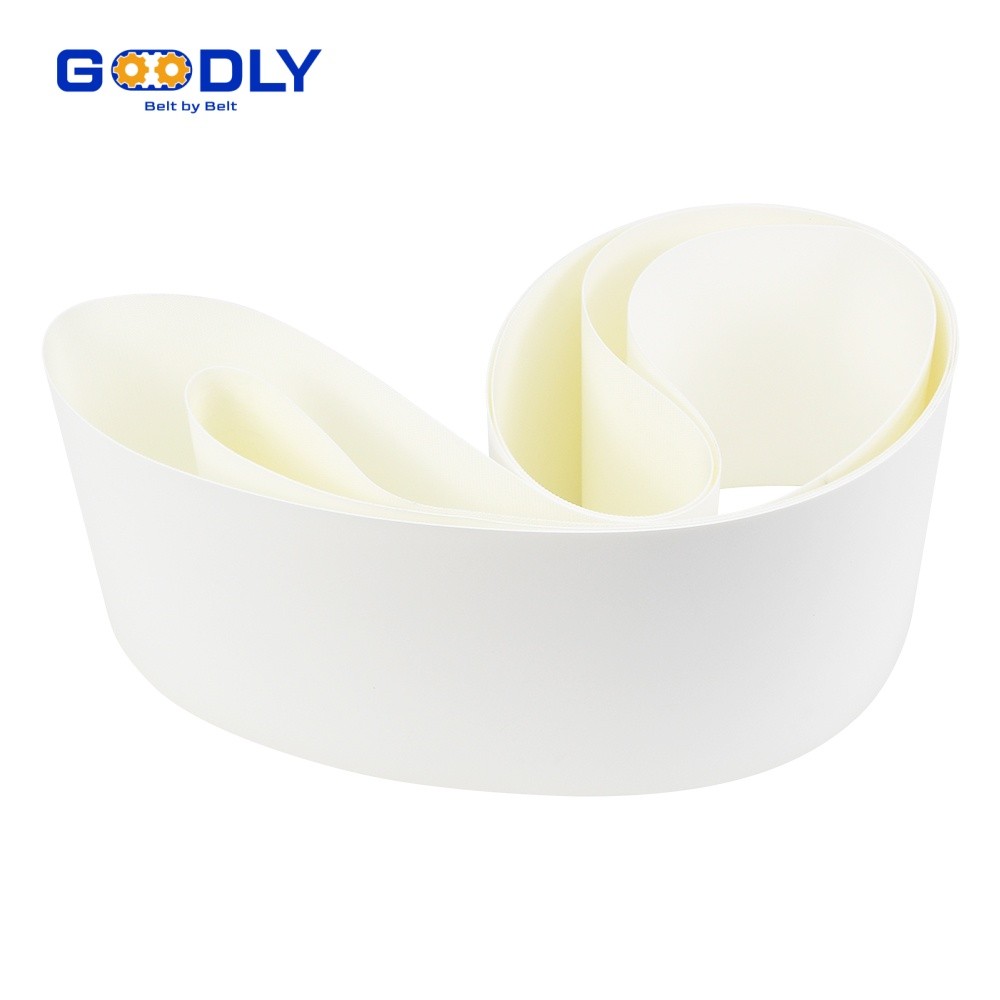
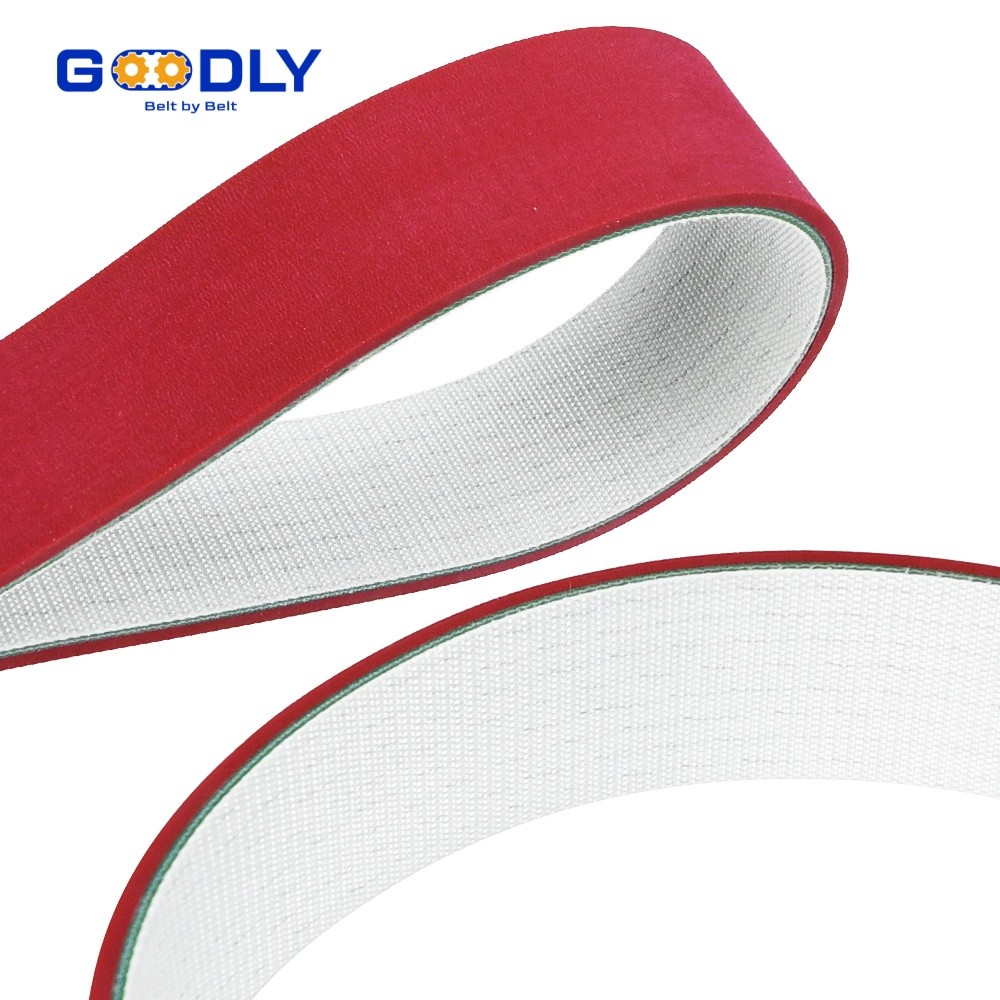
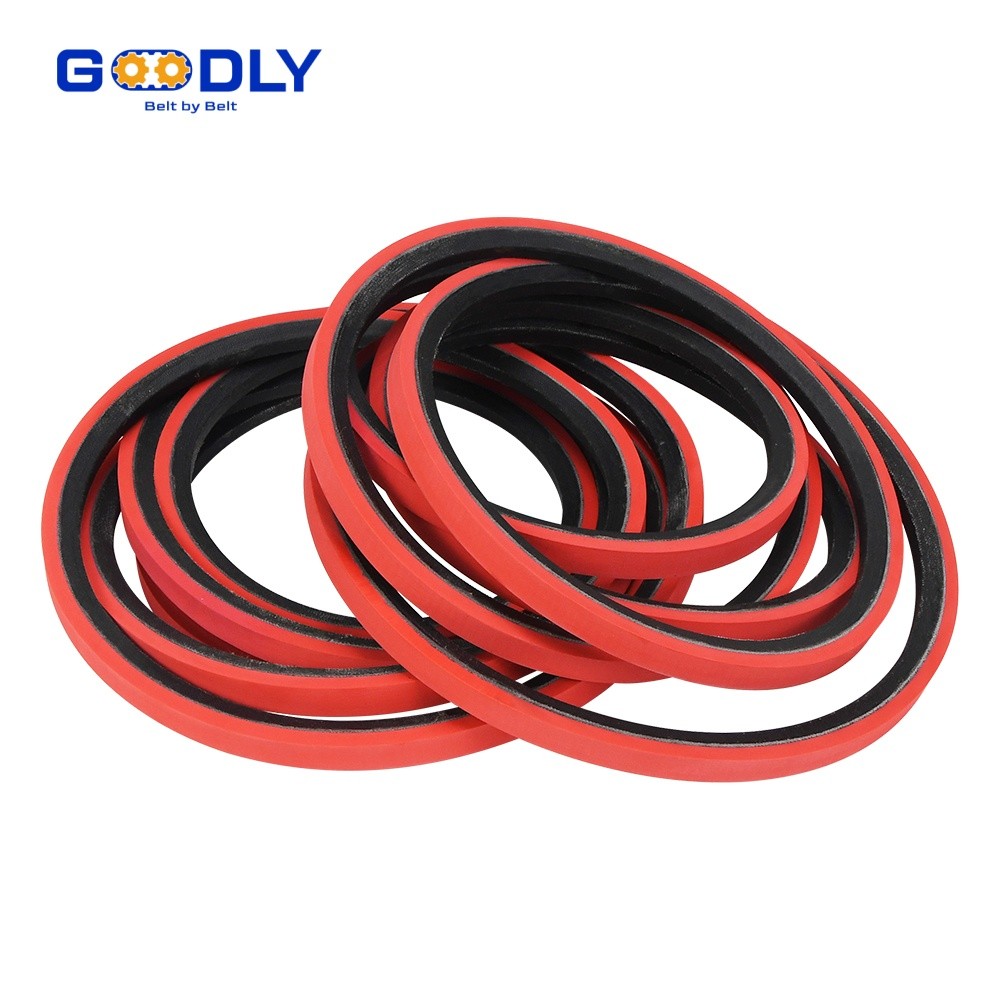
- The rubber cover. The working layer: NBR for oil, SBR for abrasion and grip, silicone for heat, PU for elasticity and non-marking. Thickness is specified per application — typically 0.5-3 mm — and can be ground, grooved or textured after cure.
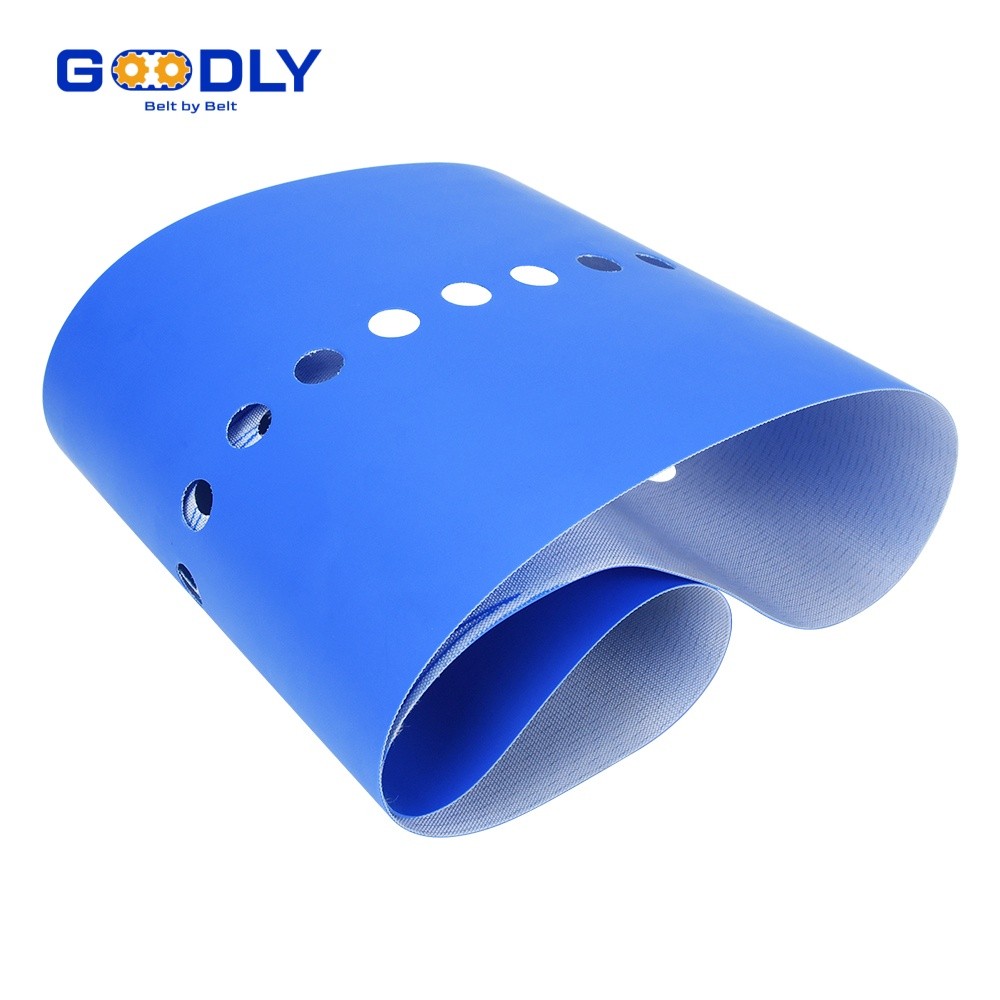
- Optional features. Cleats, V-guides, holes and slots added before, during or after coating, turning a coated belt into a handling component — the operations are detailed in the special machining guide.
| Layer | Function | Critical property |
|---|---|---|
| Base belt | Carries load, positions via teeth | Cord line integrity and pitch accuracy |
| Adhesive system | Chemically ties cover to base | Bond strength after heat, oil and flex |
| Rubber cover | Grips, cushions, seals or protects | Compound choice and thickness control |
| Surface finish | Sets friction and release behaviour | Ground, grooved or textured to spec |
Selecting Rubber Cover Compounds: NBR, SBR, Silicone and PU Coatings
Cover selection is the single decision that most affects service life, and it should start from what the cover must survive — not from what the previous belt happened to have. The four workhorse families:
| Cover compound | Strengths | Watch out for | Typical applications |
|---|---|---|---|
| NBR (nitrile rubber) | Excellent oil and grease resistance, good abrasion | Moderate heat ceiling, around 100 °C | Oil mist environments, machine tool drives, the classic oil resistant timing belt |
| SBR (styrene-butadiene) | High abrasion resistance and grip, economical | Poor oil resistance | Friction feeding, inclined conveying, general material handling |
| Silicone rubber | Heat to about 200 °C, non-marking, releases product | Lower tear strength, poor in oil | Hot sealing, food and pharma contact, ovens |
| PU (polyurethane) | Elastic, non-marking, very wear-resistant | Hydrolysis in hot water, heat around 80 °C | Delicate product handling, electronics, packaging |
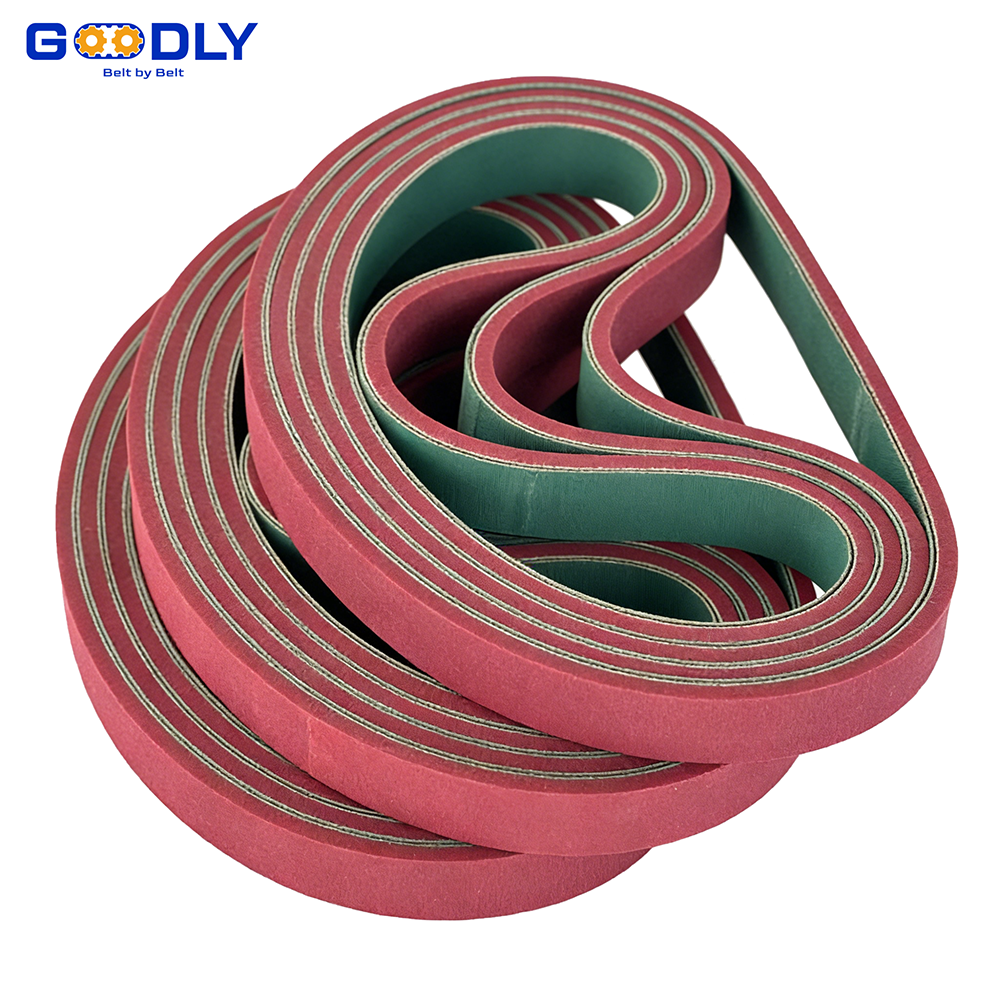
Two selection notes from practice. First, hardness is a separate dial from compound: the same NBR can be supplied soft for grip or firm for wear, typically 40-70 Shore A. Second, compound and colour are not linked — red covers are usually just pigmented NBR or SBR, and the colour helps visual inspection on the machine rather than changing performance. For heat beyond 100 °C, the silicone route is covered in detail in our silicone vulcanized belt article.
How Rubber Coated Belt Layers Stay Bonded Under Load
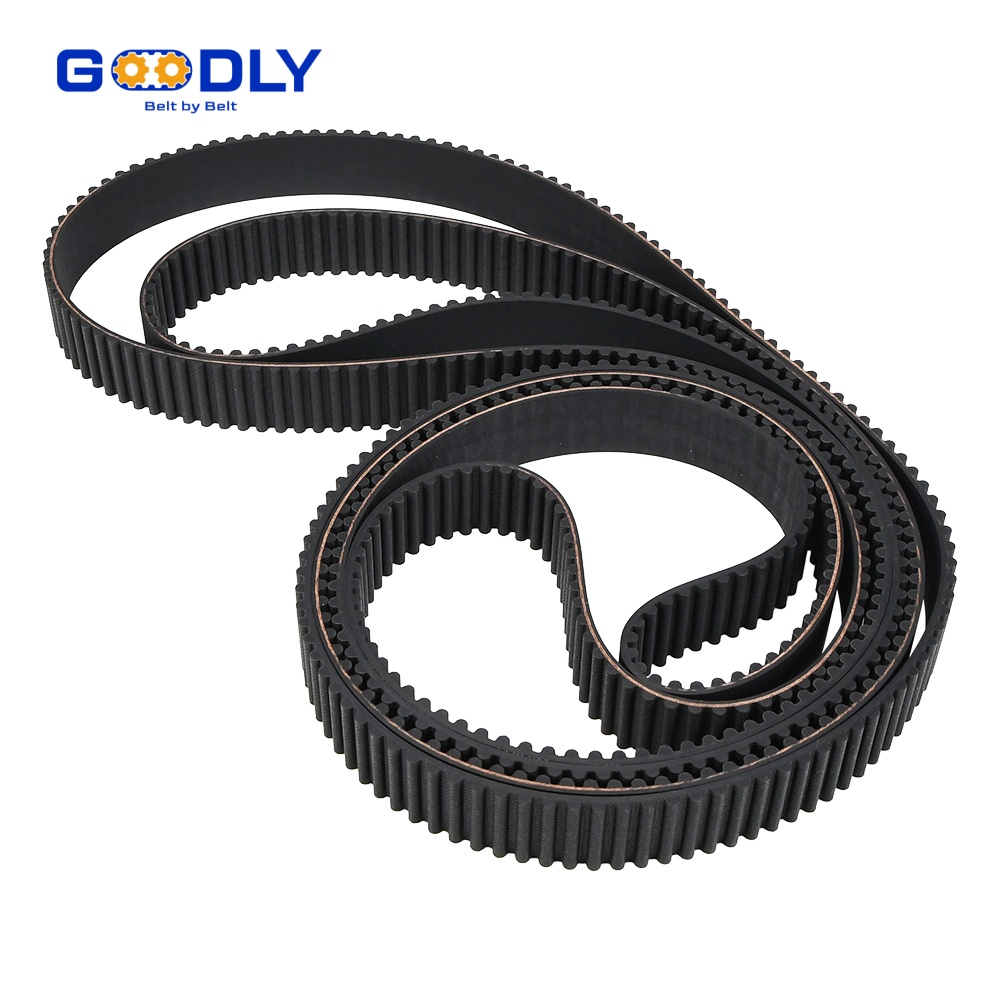
The bond between cover and base is made in the cure, and it has to survive three attackers for the life of the belt: peel forces at the edges, flexing every time the belt wraps a pulley, and the working environment — oil, heat, washdown chemicals. Manufacturers attack all three in the process:
- Surface preparation. The base belt back is ground or roughened to a controlled finish so the adhesive wets mechanically as well as chemically. A glossy, unprepared surface is where delamination starts.
- Matched adhesive system. The primer/tie-coat pair is selected for the specific compound pair — an adhesive that bonds NBR to neoprene is not automatically right for silicone. This is compound-supplier territory, and it is why coating is done in-house at GOODLY rather than sent out.
- Heat and pressure during cure. The coated sleeve is cured at 150 °C and above under pressure, so the adhesive crosslinks into the cover and the base simultaneously. The result is a chemical bond, not a laminated one — there is no distinct glue sheet to peel apart.
- Post-cure checks. Bond quality is verified by peel or shear testing on sample coupons from the batch, and by visual inspection of the edges where peel would start.
The practical consequence for buyers: a delamination failure almost always traces to one of these four steps being skipped or rushed — usually surface preparation or an unmatched adhesive. When you qualify a coating supplier, ask how the bond is made and how it is tested, not only what compounds they offer.
Custom Rubber-Coated Belt Production: From Drawing to 100% QC Inspection
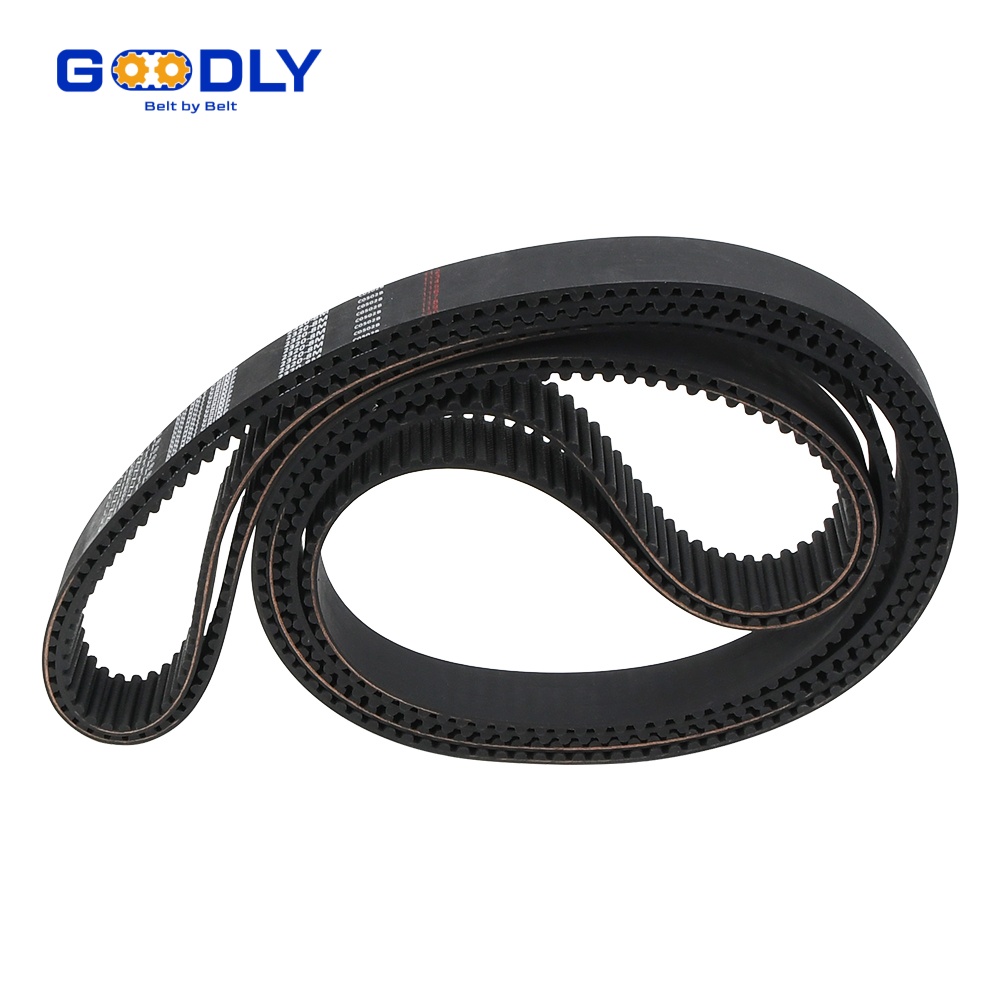
A custom coating project runs through a defined sequence, and the order matters — several steps cannot be undone once the belt is cured:
1. Drawing review and compound selection. The enquiry is reviewed against the application: cover compound, thickness, hardness and surface finish are proposed, and the base belt construction is confirmed against the pulleys and the load.
2. Base belt finishing. The sleeve is ground to the target back thickness so the cover lands on a dimensioned surface — this step sets the final thickness tolerance of the whole belt.
3. Adhesive application and cover building. Primer and tie-coat are applied, then the cover compound is built up to the specified thickness, sheet by sheet, on the rotating sleeve.
4. Vulcanising. The coated sleeve cures under heat and pressure, bonding cover and base into one body. Features that must cure in — such as textured patterns — are shaped here.
5. Slitting, grinding and finishing. The cured sleeve is slit to width, the cover surface is ground or grooved to the specified finish, and edges are squared.
6. 100% inspection. Every belt is measured — total thickness, cover thickness, width, hardness — against the frozen drawing, and the record travels with the batch. Machined features such as holes or cleats are inspected position by position.
Rubber-Coated Belt Tolerances: Thickness, Hardness and Dimensional Control
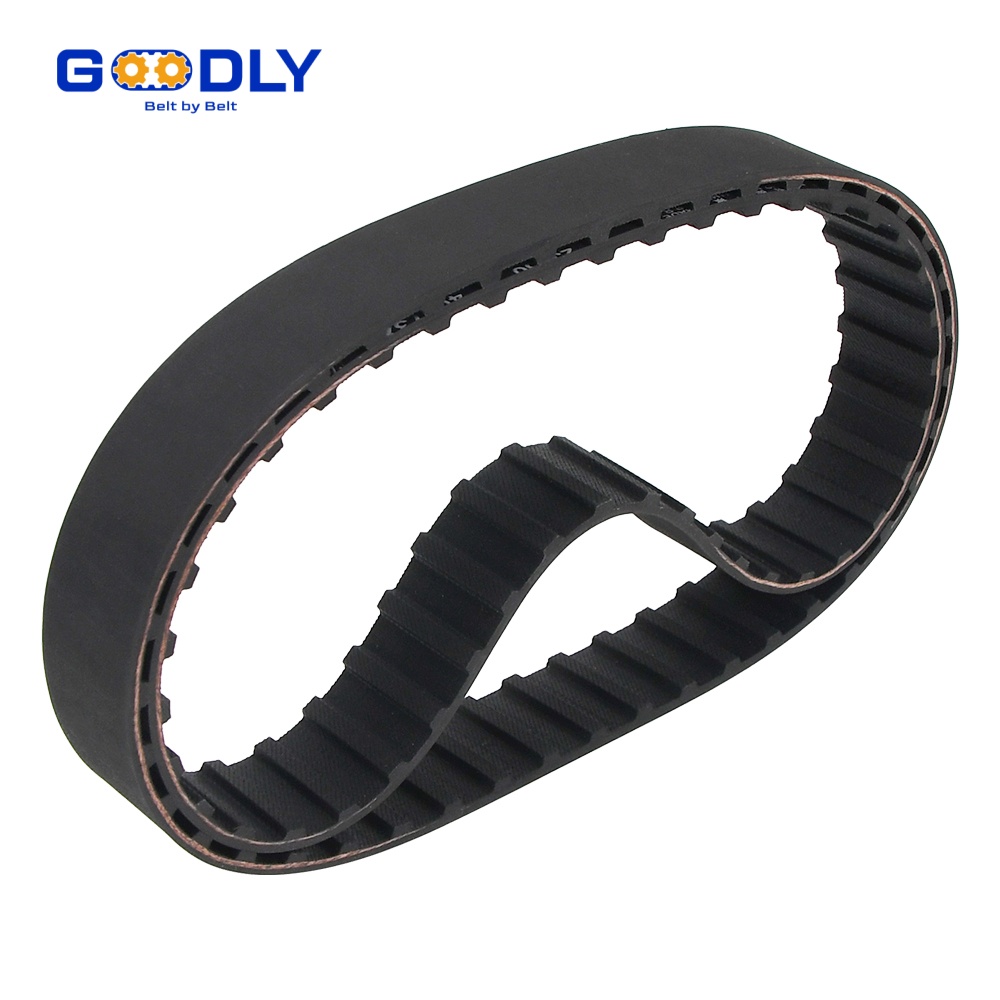
Tolerances are where custom projects quietly succeed or fail, because the numbers that look small on a drawing decide whether the belt runs square in a fixed channel or rubs a guide rail for its whole life. The practical limits we work to:
| Parameter | Practical tolerance | Why it matters |
|---|---|---|
| Cover thickness | ±0.1 to ±0.2 mm across width | Uneven cover tilts the product path and loads the belt edge |
| Total thickness after grinding | ±0.05 mm on ground surfaces | Product contact height must be constant on multi-belt machines |
| Belt width after slitting | ±0.2 mm, square edge | Square edges track true; ragged edges fray on flanges |
| Cover hardness | ±5 Shore A of spec | Grip and wear rate both follow hardness |
| Pitch length | Per ISO or drawing zone | Fit between pulleys; the base is set before coating |
| Coating bond | No delamination on peel test | The failure mode that ends a belt early |
One buying tip: specify what the dimension does, not only the number. “Cover 1.5 mm because the product edge must clear a guide rail by 0.3 mm” lets the engineer hold the right tolerance tighter and relax the ones that do not matter — which is usually cheaper for both sides.
Develop Your Custom Rubber Coated Belt with GOODLY Engineering
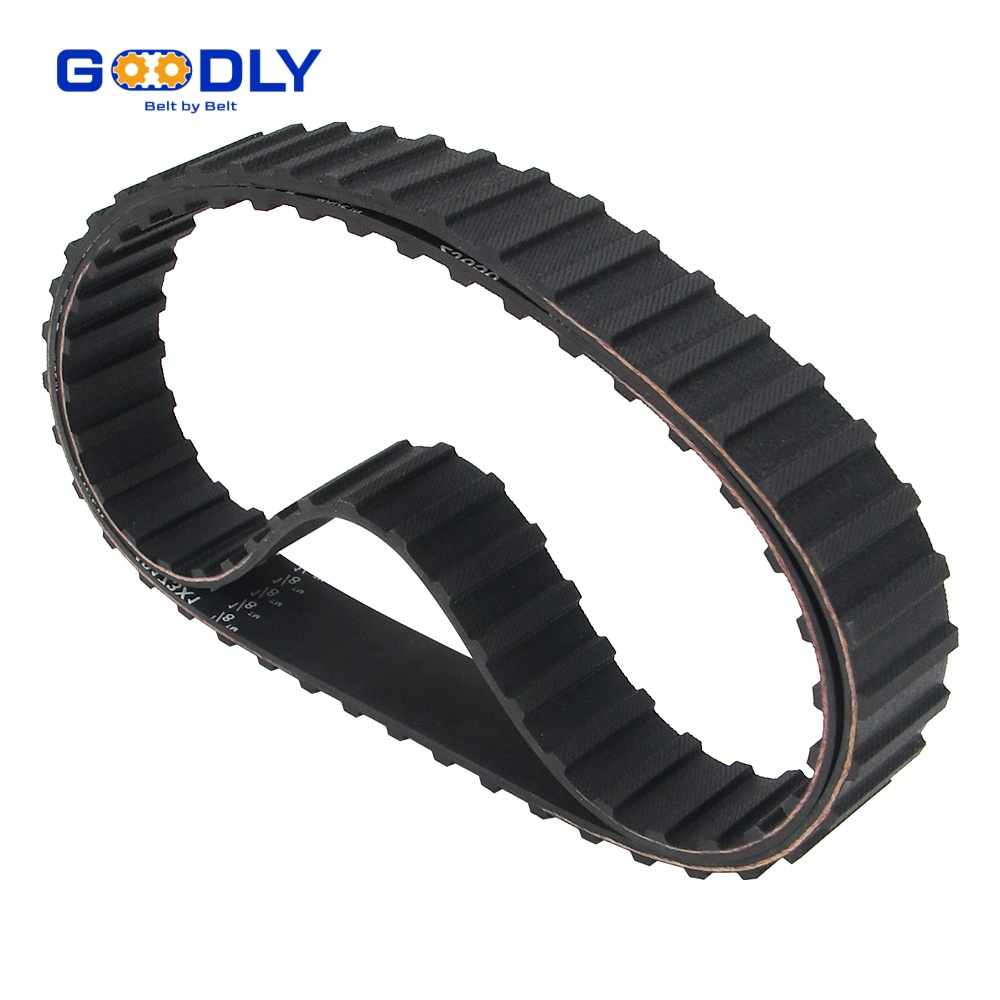
GOODLY builds coated belts end to end in its Guangzhou plant: base belt molding, surface preparation, adhesive systems, cover building, vulcanising, grinding and final inspection under one roof. That vertical integration is what keeps a custom rubber coated belt project at 3-5 working days for a prototype instead of the weeks it takes when coating is outsourced — and it is also why the bond is consistent, because the same team controls all four bonding steps described above. Company and equipment details are on the about page.
To start a project, send the drawing or sample, the duty data and what the cover must do — grip, protect, release, resist oil. Engineers come back with compound, hardness and thickness proposals plus a quotation path. Related reading: conveyor and feeding applications are covered in the rubber-coated belt solutions article, wear indicators and swap timing in the belt replacement guide, and the OEM project path — NDAs, tooling ownership and MOQ — in the OEM and ODM manufacturing guide.
What rubber is used to coat timing belts?
It depends on what the cover must survive. NBR (nitrile) is the standard choice where oil or grease is present, SBR where abrasion and grip matter most, silicone for heat up to about 200 °C and product contact, and polyurethane for elastic, non-marking handling of delicate goods. Compound and hardness are specified separately — the same base rubber can be supplied from roughly 40 to 70 Shore A.
How is the rubber coating bonded to the belt?
By vulcanising, not by gluing. The base belt back is ground to a controlled finish, a matched primer and adhesive tie-coat system is applied, the cover compound is built up on top, and the whole sleeve cures under heat and pressure so the adhesive crosslinks into both layers. Done properly there is no distinct glue layer to peel; the bond is a chemical joint between the compounds.
What thickness can a rubber coating be made in?
Typically 0.5 to 3 mm, with ±0.1 to ±0.2 mm thickness tolerance across the width. Thicker covers are possible but they stiffen the belt and load the teeth, so anything above about 3 mm should be justified by the application — and remember the cover adds to the total thickness, which must still clear the machine's backside clearance.
Can an existing belt be rubber coated afterwards?
Technically the back of a finished belt can be prepared and coated, but the reliable route is to coat during manufacture of the base sleeve, so surface preparation, adhesive cure and cover vulcanising all happen under controlled heat and pressure. Post-coating a finished belt is a repair technique, not a manufacturing method, and it will not match the bond life of a properly cured coated belt.
Why did the rubber coating delaminate on my belt?
Almost always one of four causes: the base surface was not properly prepared before bonding, the adhesive system was not matched to the compound pair, the cure was under-temperature or under-pressed, or the application attacked the bond — hot water on a PU cover, oil on an SBR cover, or repeated high heat. Send the failed belt: the failure face usually shows which of the four it was.
Request a Custom Rubber-Coated Belt Quotation
Send GOODLY your drawing, sample or application brief — what the cover must grip, protect or survive — and our engineers will propose compound, hardness and thickness, confirm the base belt construction, and sample a custom rubber coated belt in 3-5 working days, bonded and inspected in our own plant.
Get a Coating Quotation