Preventive Maintenance for Timing Belts on Production Lines: Inspection and Care Guide

Preventive Maintenance for Timing Belts on Production Lines: Inspection and Care Guide
Inspection schedules, wear signs, tension checks and spare strategy: keeping synchronous drives out of the downtime log
A timing belt rarely fails without warning — it whispers first. Cracks appear on the tooth roots, the surface glazes, edges fray, tension drifts. Production lines that catch those whispers replace a belt in a planned ten-minute stop; lines that miss them discover the drive at 2 a.m. with the whole line standing. This guide lays out a practical timing belt maintenance programme: what to inspect and how often, the timing belt wear signs worth acting on, timing belt tension checks and re-tensioning procedures, and how to stock spares so a belt never stops the line for longer than the change takes.
Why Timing Belt Maintenance Plans Reduce Unplanned Downtime
Timing belts are positive-drive components: when they fail, the machine does not degrade gracefully — it stops synchronising. On a packaging line that means mis-indexed product jamming stations; on a conveyor, product accumulating at the transfer. Because failure is binary, the economics of timing belt maintenance are unusually favourable: a small scheduled effort trades against a full unplanned stop. Three structural reasons make the trade pay:
- Failure modes announce themselves. Cord fatigue, tooth wear and tension loss all progress visibly over weeks. A weekly visual and quarterly tension measurement catches nearly every failure mode before it completes.
- Belts are cheap; stops are not. A replacement belt costs a fraction of one hour of line downtime. Replacing a belt at 80% of expected life during a scheduled window is almost always the cheaper path — the planned timing belt replacement decision, not a reactive one.
- Maintenance data improves the next belt. Logged tension readings, wear photos and replacement dates turn into a life-per-drive record that lets you specify better constructions — different cords, coatings or profiles — at the next order.
Timing Belt Inspection: What to Check on Schedules and Shutdowns
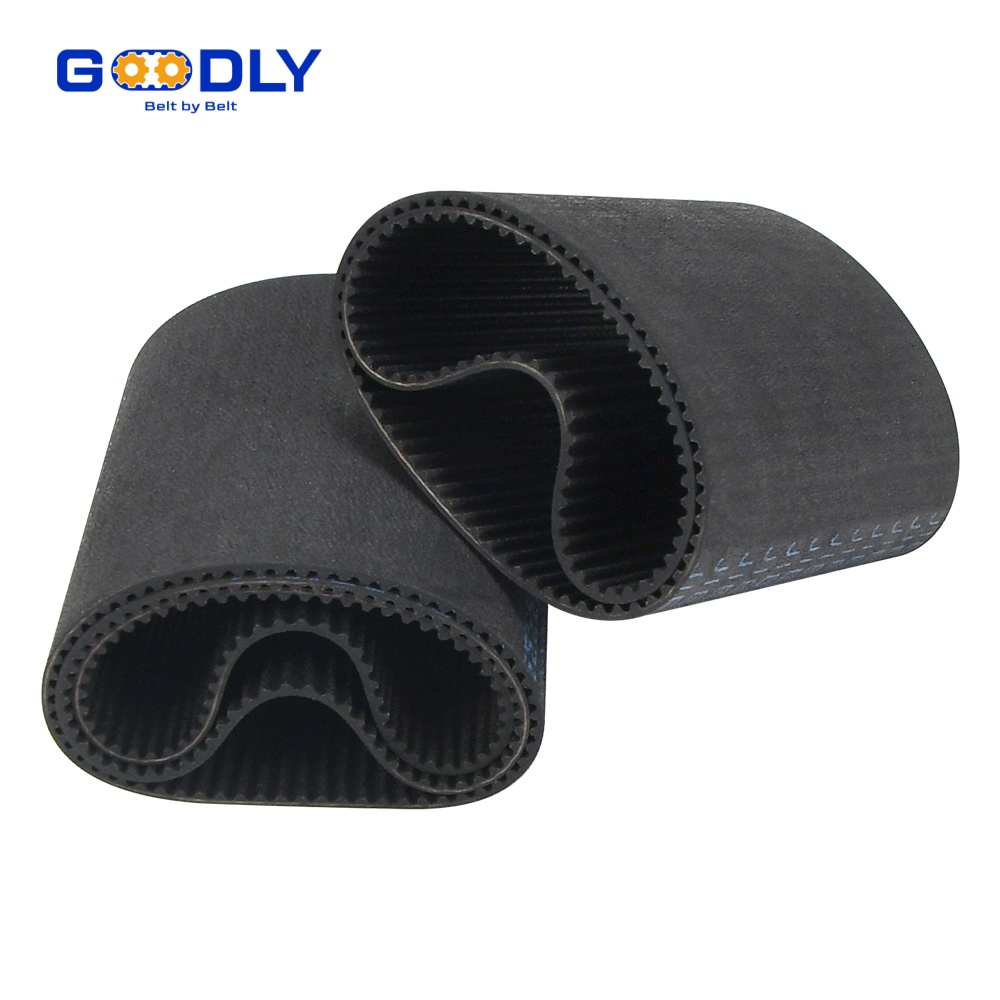
A good timing belt inspection routine layers three cadences — a running check, a stopped visual, and a shutdown deep check — so each layer costs minutes and covers what the others cannot:
- Weekly, running: listen and look. Squeal on acceleration means slipping tension; a rhythmic tick suggests a hardening tooth root or foreign matter; visible vibration points to tension loss or a misaligned idler. Two minutes per drive.
- Monthly, stopped: a flashlight pass over the full belt loop. Check the tooth surface for cracks and glazing, the back for swelling or softening (oil, chemicals, heat), and both edges for fray or flange-polish lines that reveal tracking drift.
- Quarterly or at shutdown: measure tension with a force-deflection or frequency gauge and log the value; check pulley flanges for wear bright spots; verify idler rotation and any tensioner travel is not at its limit.
- Annually: photograph each belt, compare against last year, and schedule replacement of anything entering late-life during the next planned window.
Timing Belt Wear Signs: Cracking, Glazing, Edge Fray and Tooth Wear
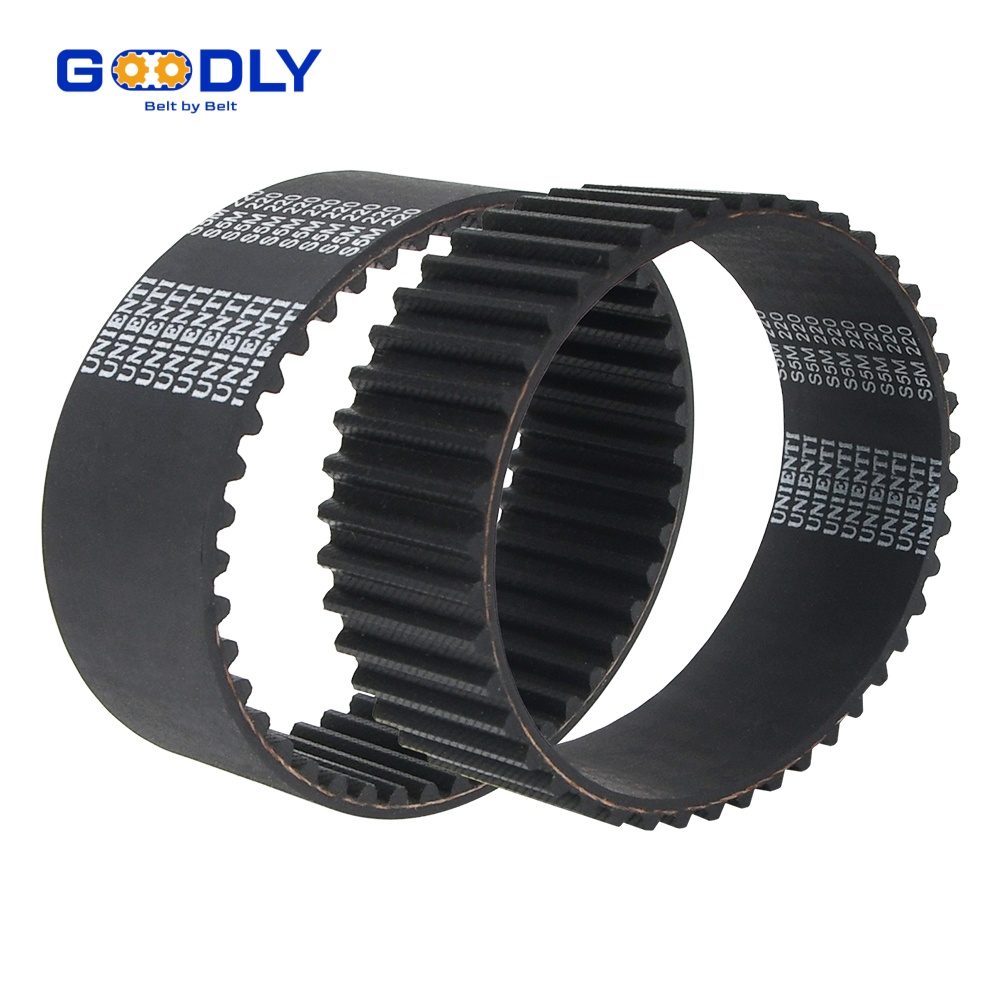
Each wear signature tells a specific story about the drive, and acting on the cause — not just the belt — is what stops the pattern repeating on the replacement:
| Wear sign | What you see | Usual root cause | Action |
|---|---|---|---|
| Tooth-root cracking | Fine cracks across tooth bases, worse on the slack side | Ageing rubber, small pulleys below minimum tooth count, heat | Replace at next window; verify pulley tooth counts |
| Glazing | Shiny, hardened tooth faces; fabric sheen | Over-tensioning or sustained overload heating the surface | Re-tension to spec; review load and service factor |
| Edge fray | Fuzzy or split edges, flange-polish lines | Tracking drift: misaligned pulleys, out-of-square frame, worn flanges | Align and square the drive before replacing |
| Tooth wear / hooks | Teeth lean in running direction, tips rounded | Under-tension letting teeth ride up, abrasive dust | Re-tension, seal or clean the environment, replace |
| Cord exposure | Lines or bumps along belt back, length change | Shock loads or jamming overstressing cords | Replace immediately; check for stall protection |
Timing Belt Tension Checks and Re-Tensioning Procedures
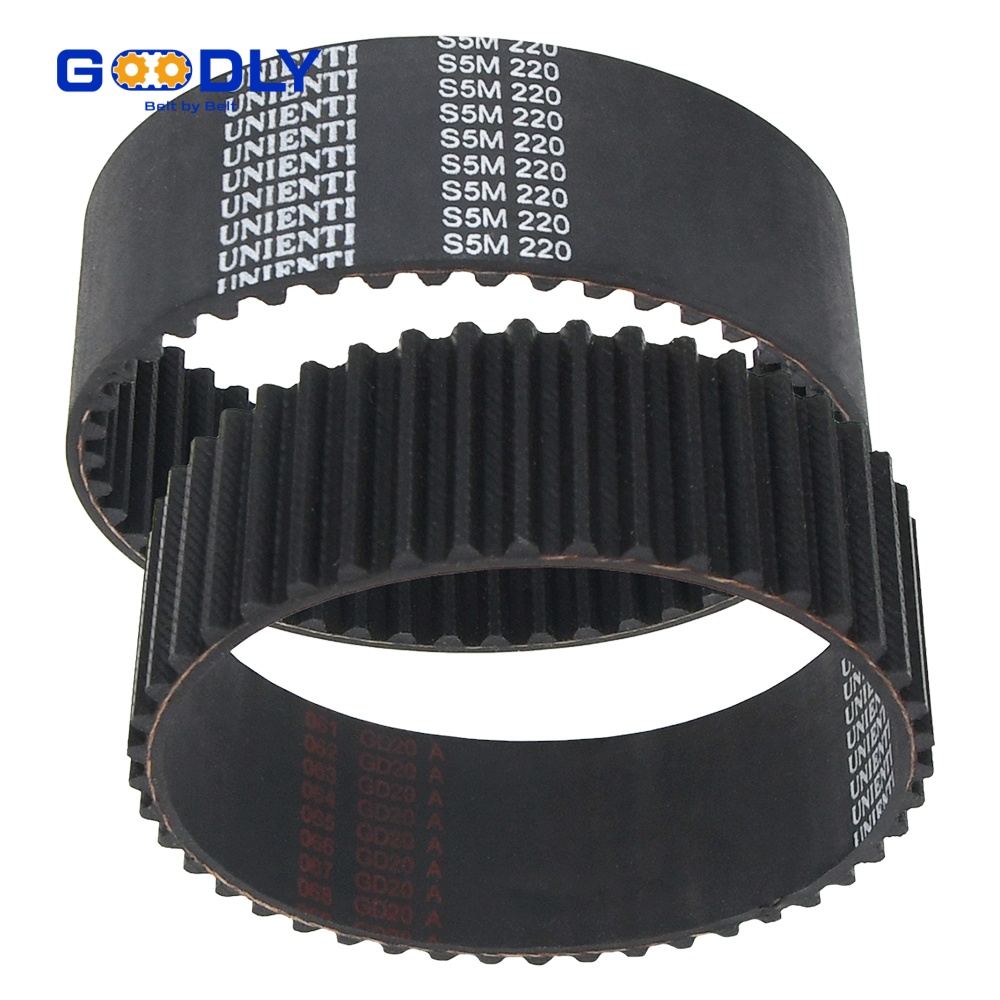
Tension is the one belt property that drifts in service and is fully restorable — which makes it the highest-value maintenance action per minute spent. Under-tension lets teeth jump under peak load; over-tension quietly overload shafts, bearings and cords. A five-step procedure keeps drives in the window:
- Mark the span. Choose the longest free span, ideally on the slack side, and mark the measurement points at the manufacturer's specified span length.
- Measure. Use a force-deflection gauge (press to standard deflection, read force) or a frequency meter (pluck, read Hz). Both work; frequency gauges are faster and more repeatable for production rounds.
- Compare. Check against the belt maker's value for that profile, width and span — not against feel. Log the number per drive; a trend falling week over week predicts the failure before it happens.
- Re-tension via the tensioner. Adjust the spring or eccentric idler or slotted motor mount — never by hammering the frame or prying the motor. Re-check the measurement after adjustment.
- Run and re-check. After 15-30 minutes of running, re-measure once: new belts seat their cords and drop a few percent, so a run-in re-tension doubles the interval to the next check.
Building a Timing Belt Spare Parts Strategy for Continuous Lines
Spare strategy decides how long a failure costs. Lines that keep the right belt one shelf away from the drive restart in minutes; lines that order after failure wait out a freight lead time. Four habits build a strategy that fits in a drawer:
- Map criticality, not quantity. Tag every belt drive as line-stopping or redundant, and stock multiples accordingly — two spares per line-stopping drive, one per non-critical, none where a standby machine exists.
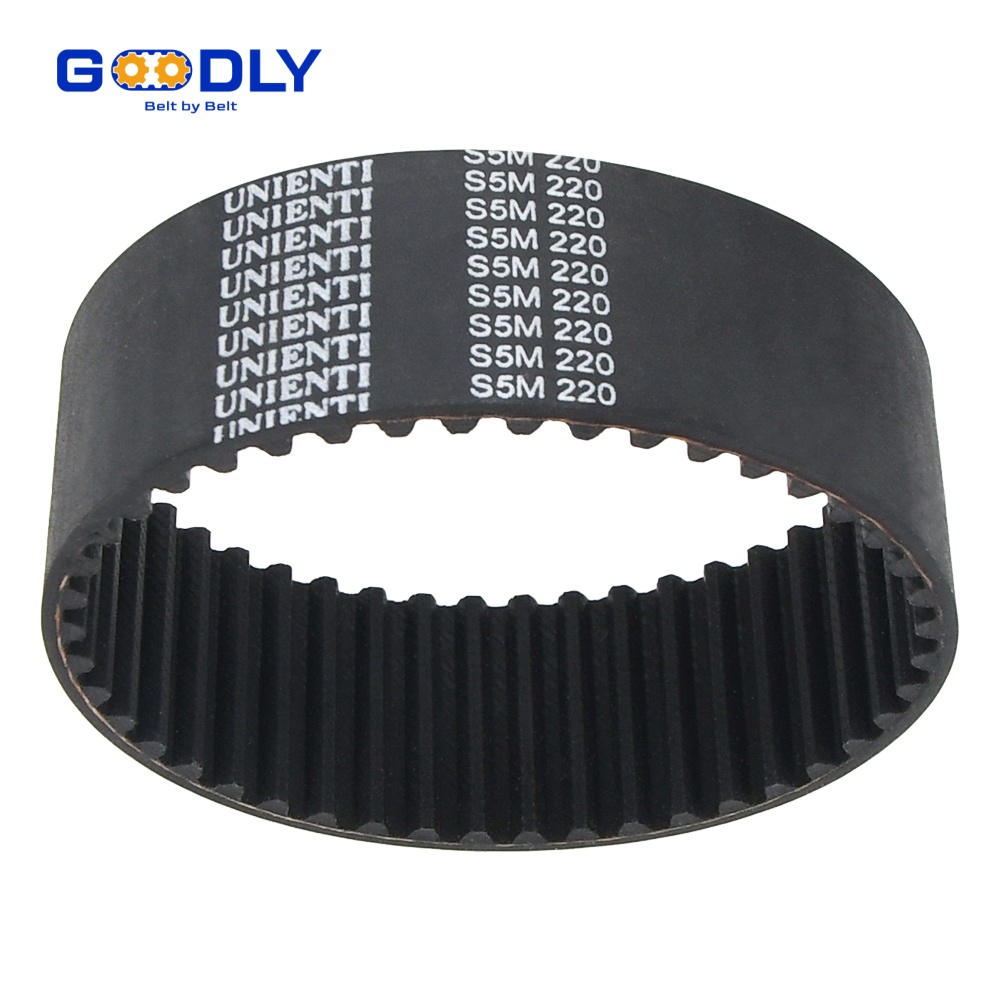
- Record exact codes. Photograph each drive's data plate and belt marking; reading the pitch, width and length codes correctly is half the battle, as the timing belt sizes and dimensions guide explains. A written code list turns a 3 a.m. call into a shelf pick.
- Choose construction types deliberately. Endless moulded loops are the default for precision drives, but open-ended stock that can be spliced to length covers odd custom sizes — the trade-offs are compared in our endless vs open-ended vs spliced guide.
- Store spares properly. Cool, dark, flat or hung on large-radius hooks; never kinked, never near motors or solvents. A cracked spare is the same downtime as no spare.
- Standardise where possible. When a line uses twelve belt variants that differ only in length, consolidating to fewer pitches and widths shrinks the spare wall — ask the belt maker which variants can merge.
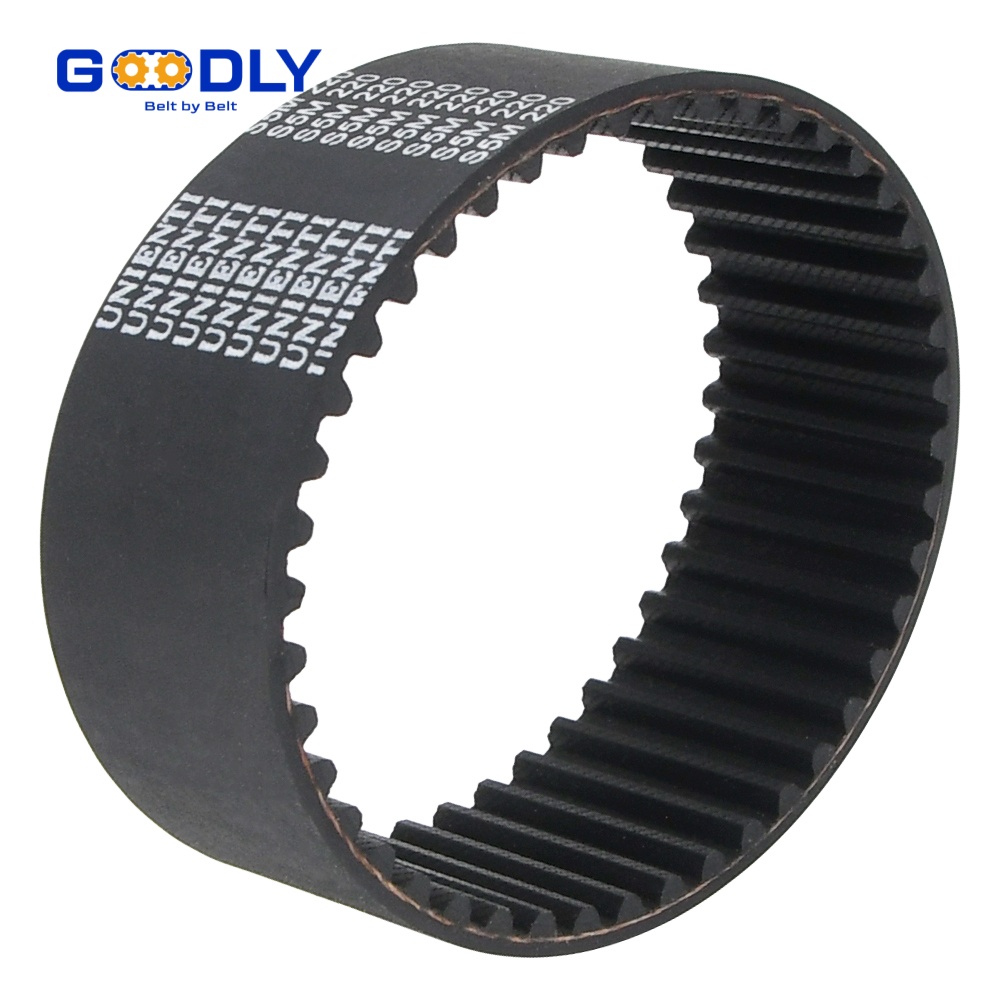
For packaging lines specifically, drive layouts and belt constructions are documented on our packaging industry belt solutions page, including the coated and cleated variants that need the same inspection discipline as the drive itself.
Let GOODLY Audit Your Belt Maintenance Program
GOODLY supplies timing belts for production lines and backs them with the engineering part of maintenance: a belt-by-belt audit that maps every drive on your line, records codes and tensions, photographs wear patterns, and returns a prioritised replacement and spare-stocking plan. Where the audit finds repeat failures — the same drive losing belts every quarter — our engineers re-specify the construction rather than let the pattern continue. Review our factory and quality system, then send us your belt list or a few worn samples to start.
Drive-by-drive audit
Codes, tensions and photos recorded for every belt on the line, in one visit.
Root-cause re-specification
Repeat-failure drives re-engineered with different cords, coatings or profiles.
Spare plan that fits a shelf
Criticality-mapped stock list with exact codes and consolidation options.
3-5 day replacements
Custom and standard replacements sampled fast when audit results arrive.
How often should timing belts be inspected on a production line?
Three layers work well: a two-minute weekly check while the drive runs (listen for squeal, watch for vibration), a monthly stopped visual over the full loop for cracks, glazing and edge fray, and a quarterly tension measurement that gets logged per drive. Continuous heavy-duty drives justify shortening the intervals; lightly loaded spare-machine drives can stretch them.
What are the first signs a timing belt needs replacing?
Fine cracks across the tooth roots, a glazed or shiny tooth surface, frayed edges, and tension that keeps falling between checks are the early warnings. Tooth wear that makes teeth lean in the running direction, or any sign of cord exposure, moves the belt from 'schedule it' to 'replace now' — especially on line-stopping drives.
Can I re-tension an old timing belt instead of replacing it?
If the belt passes the visual inspection — no cracking, glazing, fray or tooth wear — re-tensioning to the specified value is exactly the right move, and it is the most common maintenance win. Tension loss alone does not age a belt. But if wear signs are present, re-tensioning only delays the failure and can accelerate it by loading damaged cords harder.
How should spare timing belts be stored?
Cool, dark and away from ozone sources such as motors and switchgear, either laid flat on a shelf or hung on large-radius hooks. Never store belts kinked over small hooks or stapled packaging, and keep them in their original wrapping until fitting. Rubber and PU compounds age slowly in good storage, but a pre-cracked spare is the same downtime as having none.
Want a Maintenance-Ready Belt Program?
Send GOODLY your line's belt list, drive photos or worn samples. Our engineers return an audit plan with codes, tension targets, replacement priorities and a spare-stocking schedule — and back it with 3-5 day replacement prototypes where needed.
Request a Belt Maintenance Audit